
photo
|
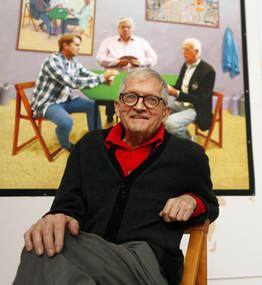
Photo Cubism: David Hockney-inspired photo joiners
Much of the information below was derived from Ms. Katie Cook, Art teacher in Pointe Pleasant, New Jersey.
|
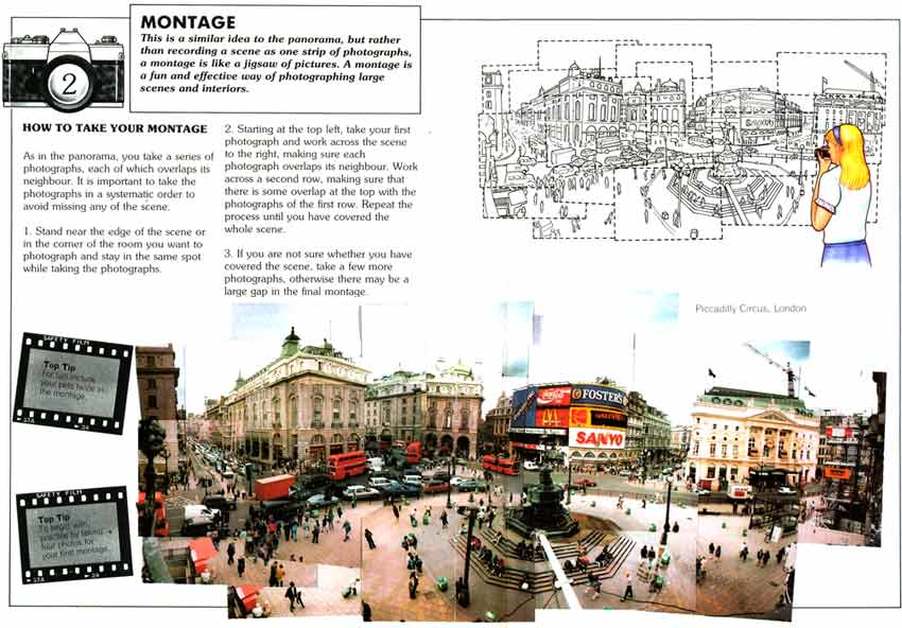
he above image is a scan from the 1990 book 'Creative Photography' by Russ Malkin that shows you how to take and piece together a joiner
REQUIREMENTS FOR SHOOTING:
- Choose whatever subject you like- person, place, object, etc... (see ideas below)
- Shoot 2 different scenes, with a MINIMUM OF 40+ PHOTOS FOR EACH. (80 TOTAL) More shots are better for this project.
- ZOOM IN and shoot CLOSE UP shots of different fragments of your subject.
- Shoot the entire scene, try shooting a whole row across the top of your subject, then shoot a whole row below that, then below that, etc until you know you've covered you're whole subject.
- Each shot should OVERLAP the next, so that you don't have any gaps in your final piece.
- Don't move from where you are standing during the entire time you are shooting.
- Try tilting your camera left or right as you shoot to get interesting angles.
IDEAS FOR SUBJECT MATTER
Choose 2 different subjects to shoot. Shoot a minimum of 40 photos for each. 80 total. More is better for this project.
A simple "still-life" of objects you have on you or around you in the classroom... something as simple as your phone on a desk, or a pile of books and papers.
It could be as simple as a park bench, chair or desk.
A group of your friends, posed creatively. They can stay still during the shoot or you can allow slight movement between shots for a more "fragmented" look.
Something important to you, or symbolic of something important to you- a musical instrument, art supplies, sports equipment, your car, etc...
A sweeping panoramic view of the inside of a building, an outdoors landscape, the front of the school, etc.
A portrait of someone working or doing something, allow them to move slightly as you shoot to capture the event unfolding over time...
Your computer desk or work space. Try to have your hands or feet sneak into one or two of the photos to show your presence, just as Hockney did in many of his photos.
A large panoramic view of the classroom, lunchroom, gymnasium, auditorium, etc. Or your messy bedroom if you are shooting at home.
bringing your images into photoshop and editing them
1. Open Photoshop, create a new document with these dimensions*:
Height: 19in
Width: 13in
Resolution (dpi): 150
*(if your composition would work better horizontally, just flip the height and width numbers)
2. Select all of your images at once and drag them into the new Photoshop file. You may have to hit return after each image is placed.
3. Now go to your layers and select each layer (except the "Background" layer) by holding down Shift and selecting your layers.
4. Make all of your images much smaller (transform them with Shift and Control + T). The goal here is to be able to see each of your images on the page so you can decide what will go where and how things will overlap. Once you see all of your images you can then decide if some need to be made larger or smaller.
5. You may want to experiment with making certain images brighter or darker or more or less vibrant. Explore Image>Adjustments as a way to manipulate contrast and exposure.
TIPS:
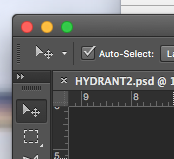
When moving your images around, it's easier to have auto select on, which allows you to select images simply by clicking them rather than hunting around in the layers menu. To turn this on, select the move tool in the tool panel and in the upper left hand corner of the screen check the "auto select" box.
Height: 19in
Width: 13in
Resolution (dpi): 150
*(if your composition would work better horizontally, just flip the height and width numbers)
2. Select all of your images at once and drag them into the new Photoshop file. You may have to hit return after each image is placed.
3. Now go to your layers and select each layer (except the "Background" layer) by holding down Shift and selecting your layers.
4. Make all of your images much smaller (transform them with Shift and Control + T). The goal here is to be able to see each of your images on the page so you can decide what will go where and how things will overlap. Once you see all of your images you can then decide if some need to be made larger or smaller.
5. You may want to experiment with making certain images brighter or darker or more or less vibrant. Explore Image>Adjustments as a way to manipulate contrast and exposure.
TIPS:
When moving your images around, it's easier to have auto select on, which allows you to select images simply by clicking them rather than hunting around in the layers menu. To turn this on, select the move tool in the tool panel and in the upper left hand corner of the screen check the "auto select" box.
Another tip is that you may want to cover up or not show certain parts of an image. Don't delete these parts, you may need them later. It's a better idea to make a mask on that layer to hide what you don't want to see. Alternatively, you could also create a new layer and use the polygonal lasso to create a shape, then fill it with white.
